A custom menu is a list of links that you can add to your WordPress site’s header, footer, sidebar, or any other widget area. You can create different menus for different purposes, such as navigation, social media, categories, etc. You can also add submenus to organize your links hierarchically.
Custom menus are created and managed from the WordPress dashboard, under the Appearance > Menus section. You can create as many menus as you want, and assign them to different locations on your site. You can also customize the appearance and behavior of your menus using the Customizer or plugins.
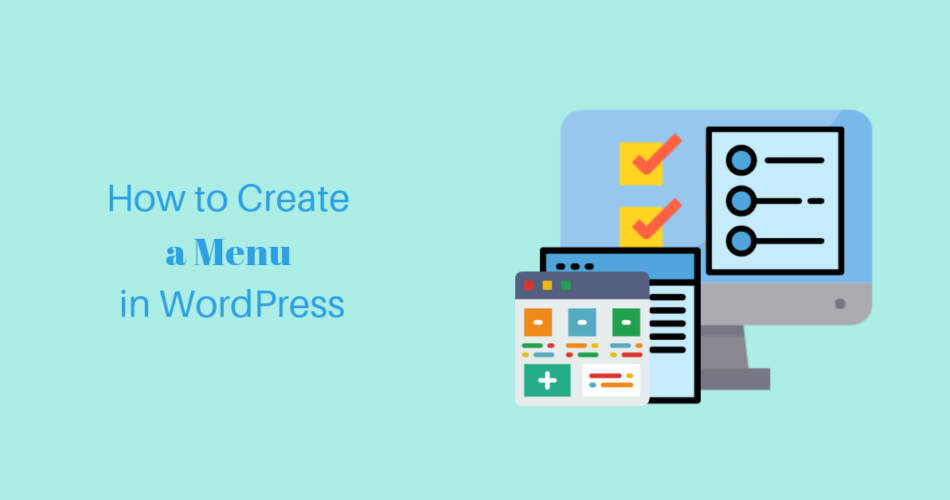
Article
To create a custom menu in WordPress, follow these steps:
Step 1: Create a new menu
- Go to Appearance > Menus in your WordPress dashboard.
- Click on the Create a new menu link at the top of the screen.
- Enter a name for your menu in the Menu Name field. This name is for your reference only and will not be visible on your site.
- Click on the Create Menu button.
Step 2: Add items to your menu
- On the left side of the screen, you will see different panels that contain items that you can add to your menu, such as pages, posts, categories, tags, custom links, etc.
- To add an item to your menu, simply check the box next to it and click on the Add to Menu button at the bottom of the panel.
- You can also drag and drop items from one panel to another to rearrange them.
- To add a custom link to your menu, click on the Custom Links panel, enter the URL and link text in the fields provided, and click on the Add to Menu button.
- To create a submenu, drag an item slightly to the right under another item. The submenu item will be indented under the parent item.
Step 3: Assign your menu to a location
- On the bottom of the screen, you will see a section called Menu Settings.
- Here you can choose where you want your menu to appear on your site. The available locations depend on your theme and plugins. Some common locations are primary menu, secondary menu, footer menu, etc.
- Check the box next to the location where you want your menu to appear and click on the Save Menu button.
Step 4: Customize your menu (optional)
- If you want to further customize the appearance and behavior of your menu, you can use the Customizer or plugins.
- To use the Customizer, go to Appearance > Customize in your WordPress dashboard and click on the Menus section. Here you can change the style, color, font, alignment, etc. of your menus and preview the changes live.
- To use plugins, go to Plugins > Add New in your WordPress dashboard and search for plugins that offer menu customization features. Some popular plugins are Max Mega Menu, WP Mobile Menu, QuadMenu, etc.
Conclusion
Creating a custom menu in WordPress is a great way to improve your site’s usability and design. You can easily create and manage menus from your WordPress dashboard and assign them to different locations on your site. You can also customize your menus using the Customizer or plugins. We hope this tutorial helped you learn how to create a custom menu in WordPress. If you have any questions or feedback, please leave a comment below. Thank you for reading!
Subscribe to our email newsletter to get the latest posts delivered right to your email.
Comments